

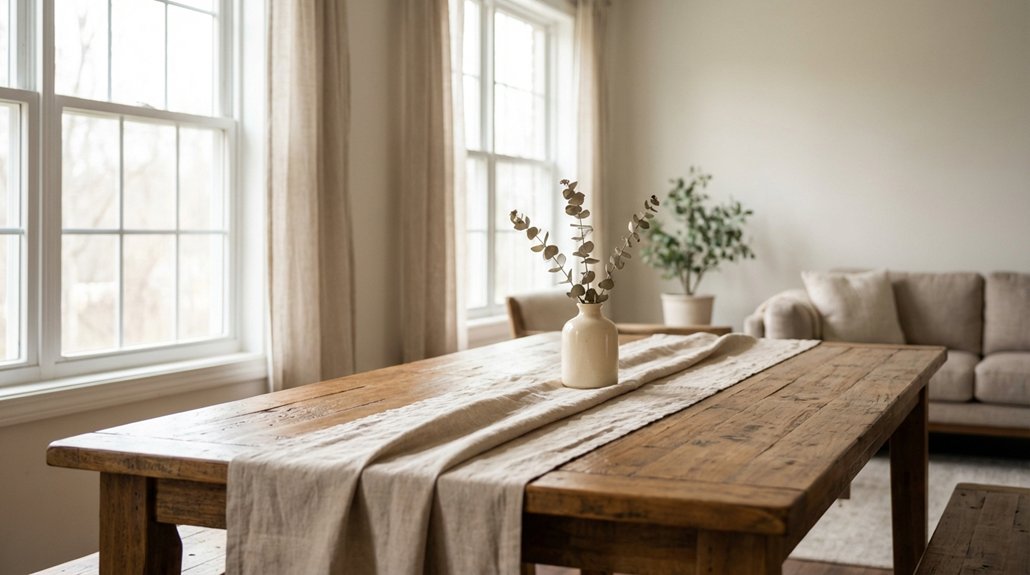
You can effectively photograph furniture for your online store without a professional studio. Select a room with large windows to maximize natural light. Aim for a neutral backdrop, like a plain wall, to keep the focus on the furniture. Schedule your photography sessions during midday, when sunlight is most consistent.
Maintain uniformity in camera angles and backgrounds across all product photos. This consistency helps create a cohesive look for your online catalog. Use tools like Snapseed or Canva for quick edits, such as cropping images or adjusting colors.
Explore different techniques to refine your photography skills. Practice regularly to understand how lighting and angles affect the final image. Focus on capturing the details of each piece, like texture and finish, to give potential buyers a clear view.
Avoid shooting in poorly lit rooms or against busy backgrounds, as these can distract from the furniture. Steer clear of using filters that alter the furniture’s color, as accurate representation is crucial for online sales.
By following these steps, you can produce high-quality images that enhance your online furniture sales.
Set Up a Furniture Photography Space at Home
Setting up a space for furniture photography at home requires careful consideration of lighting, background, and space organization. Choose a room with good natural light. A room with large north or east-facing windows offers consistent, diffused light, which reduces harsh shadows on furniture.
Good furniture photography starts with the right room — prioritize natural light and thoughtful space planning for polished results.
Manage Lighting Effectively
Avoid direct sunlight, as it creates uneven exposure and deep shadows. Use sheer curtains to diffuse incoming light. If natural light is insufficient, add affordable LED panels to enhance brightness and maintain even lighting.
Select a Suitable Background****
Choose a plain white wall, seamless paper roll, or neutral-colored fabric as your backdrop. Each option provides a clean and distraction-free background that emphasizes your furniture. Remove any clutter from the surrounding area to maintain focus on the furniture.
Optimize the Floor Space
Ensure the flooring complements the furniture you’re photographing. A simple, neutral floor enhances the overall appearance without drawing attention away from the furniture.
Maintain a Consistent Setup****
Establish a repeatable setup for your photography sessions. Consistency saves time and delivers professional-looking results. Adjusting your space for each shoot can lead to varied outcomes, so keep your arrangements stable. Additionally, ensure that the area allows for 30 inches of clearance to facilitate easy movement around the furniture during shoots.
Use Natural Light for Better Furniture Photos
Natural light significantly enhances the quality of furniture photos. Position furniture near large windows to benefit from soft, even lighting that accurately showcases colors and details.
Improve Light Diffusion
Use sheer curtains to diffuse sunlight. Sheer curtains soften harsh shadows and create a more uniform light across the furniture.
This adjustment helps reduce the stark contrasts that can distract from the furniture itself.
Shoot During Optimal Times
Schedule your photo sessions for midday. Midday sunlight is the brightest and most consistent, providing the best conditions for photography.
This timing helps to ensure that the furniture is well-lit without harsh shadows.
Adjust Furniture Placement
Reposition furniture to avoid unwanted reflections. Glossy surfaces can reflect window light, which may detract from the overall image quality.
Position furniture at angles that minimize these reflections to maintain clarity.
Avoid Direct Sunlight
Steer clear of direct sunlight during photo sessions. Direct sunlight can cause overexposed spots and uneven tones on the furniture.
Instead, aim for indirect light to ensure balanced exposure.
Using natural light effectively highlights textures and true colors in furniture photos, enhancing the aesthetic appeal of the solid wood materials.
Shoot Every Piece Consistently for a Cohesive Catalogue
When you build a furniture catalogue, consistent photography elevates your brand’s professionalism. Use the same background, lighting setup, and camera angles for each piece you photograph. This approach creates a uniform look and instills trust in potential customers.
Maintain Consistency in Photography
To achieve consistency in your catalogue, adhere to specific standards:
| Element | Standard to Follow |
|---|---|
| Camera Angle | Use an eye-level shot or a 45-degree angle |
| Background | Choose a neutral wall or a plain backdrop |
| Lighting | Utilize the same natural light source each day |
Apply Standards to Every Product
Apply these photography standards to every item, from chairs to large sofas. Consistent camera angles, backgrounds, and lighting help establish a professional visual identity. This uniformity builds customer trust and encourages purchases.
Understand the Impact of Consistency
Consistency in your catalogue communicates professionalism. When all photos share the same style and tone, customers feel confident in their purchasing decisions. By maintaining these standards, you create a reliable shopping experience that can lead to increased sales. Additionally, incorporating elements of traditional styles can further enhance the aesthetic appeal of your photographs.
Limitations of Inconsistent Photography
Avoid using different backgrounds, lighting conditions, or camera angles for various products. Inconsistencies can confuse customers and diminish their trust in your brand. Stick to the established standards for every piece to ensure a cohesive and appealing presentation.
Edit Furniture Photos Fast and Free
Editing furniture photos can be fast and free. You can use tools like Snapseed, GIMP, or Canva to enhance your images without spending money or wasting time. These apps help you make quick adjustments to improve photo quality.
Adjust Lighting
Adjust lighting to brighten shadows and reduce harsh highlights. This change reveals the true colors of the furniture. Good lighting makes your images more appealing and trustworthy.
Refine Composition
Refine composition by cropping tightly around the furniture. This action removes distracting backgrounds and centers the subject. A focused image attracts more attention from potential buyers.
Correct Colors
Correct colors to match the furniture’s actual tone. Accurate color representation builds trust with buyers. If the colors look right, customers feel more confident in their purchasing decisions.
Enhance Details
Enhance details by sharpening textures on fabrics and wood grains. This adjustment highlights the quality of the materials without over-processing the image. Clear details help the furniture stand out.
You don’t need expensive software to produce clean, catalog-ready images.
Consistent editing across all your photos creates a polished look that enhances your online store’s credibility. Focus on these key adjustments to ensure your furniture photos look professional.
Reframe and Edit Supplier Images to Fit Your Brand
Supplier images often lack alignment with your brand’s visual style. Reframe and edit these images to ensure a cohesive look throughout your store. Start by cropping out any distracting backgrounds or props that don’t fit your aesthetic. Use tools like Canva or Photopea to enhance images.
Supplier images rarely match your brand’s style — crop, reframe, and edit them to create a cohesive store aesthetic.
Focus on specific adjustments such as brightness, contrast, and color tone to maintain consistency.
Consistency matters. Apply the same overlays, borders, or filters across all images to unify your catalog’s appearance. For example, if you choose a specific filter, use that same filter on every product image. This approach reinforces your brand identity and creates a polished look.
Before editing, always verify the supplier’s usage rights to ensure compliance. Editing supplier photos can save time and reduce costs while providing a professional presentation that reflects your brand.
When executed correctly, these adjustments will enhance your store’s overall visual appeal.