
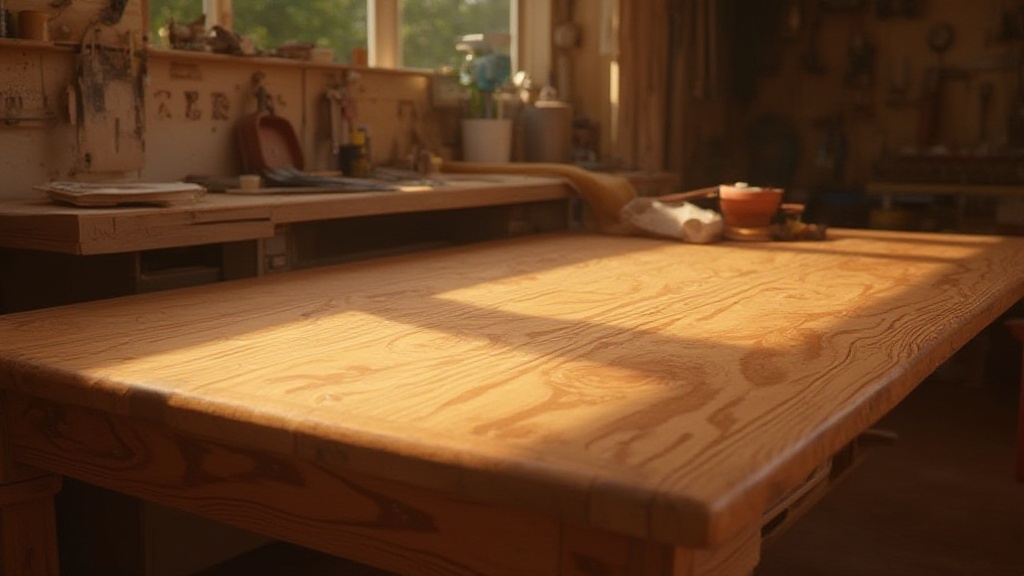
Transforming your home starts with high-quality oak furniture restoration supplies. These essential tools and materials breathe new life into old cherished pieces, allowing you to create stunning focal points in every room.
By using premium wood glue, sanding blocks, and polish, you will ensure that your furniture not only looks beautiful but also withstands the test of time.
Each restoration project enriches both the character and longevity of your oak furniture, making it a worthwhile investment.
Discover the essential items that can effortlessly elevate your home’s aesthetic.
Click here to learn more about: oak furniture
Choosing The Right Wood Stains
Selecting the ideal wood stains for your oak furniture is essential for achieving the desired look. Begin by acknowledging that the type of wood and its natural color significantly influence stain selection.
It is advisable to test different stains on a small inconspicuous area to confirm compatibility and avoid any surprises. A water-based finish may present differently when applied over wood than it appears in the container.
This careful testing ensures a beautiful, cohesive finish on your restored pieces, showcasing their natural beauty.
Aged Weathered Finishes
Crafting aged weathered finishes evokes a sense of time-worn charm and character, often prominent in rustic decor and vintage aesthetics.
Utilizing various techniques, you can age wood and other materials to achieve a rustic, worn look that enhances authenticity in furniture and decor.
- Distressing techniques add depth and history to your designs.
- Layering and color washing are common methods that yield unique results.
- These finishes are suitable for both DIY projects and professional craftsmanship.
Pursuing aged finishes can apply to wood, metal, glass, and textiles, making them versatile for farmhouse styles and rustic interior design. Consider exploring eco-friendly products for a sustainable approach as you experiment with these techniques.
Safety measures should always be taken when working with chemical finishes.
Practicing various methods on sample pieces can refine your techniques and help you find a personal style within the realm of aged finishes.
How To Use Varnish Effectively
Achieving a flawless finish on woodworking projects requires careful varnish application. First, ensure that the surface is meticulously clean and dust-free; this promotes optimal adhesion of the varnish.
Next, apply thin, even coats of varnish using a quality paint brush for consistent coverage.
It’s vital to allow adequate drying time between each coat.
Be mindful of the environment, as temperature and humidity significantly impact drying times. By adhering to these varnishing techniques, you’ll enhance the durability and appearance of your projects, resulting in a beautiful final product.
Key Varnish Application Techniques
- Clean the surface thoroughly to ensure a strong bond.
- Use appropriate tools like paint brushes and rags for even application.
- Apply coats in a well-ventilated area for optimal drying conditions.
Essential Wood Glue Techniques
Creating durable furniture and crafts demands effective wood glue techniques. Begin by selecting the right type of wood glue; not all glues provide the same strength or flexibility. Clamp pieces together firmly to ensure a strong bond while the glue dries. This step is essential for maintaining the integrity of the joints. Clean up excess glue immediately to avoid damage to the finish. Following these wood glue techniques will enhance the structural integrity and visual appeal of your creations.
Choosing the Right Wood Glue
First, select a wood glue that suits your project needs. For instance, polyurethanes offer strength, while water-based finishes are more eco-friendly. Understanding the needed properties of wood glues can make a significant difference in your project outcomes.
Clamping Techniques for Optimal Bonding
When gluing, woodworking clamps are indispensable tools. Ensure that clamping pressure is evenly distributed, allowing the glue to bond effectively. This ensures that the joints adhere firmly, leading to a long-lasting creation.
Cleansing Excess Glue
Cleaning excess glue right away is imperative. A damp cloth or rag will effectively remove any unintended drips that can ruin the finish. Keeping the workspace tidy contributes to a more professional result.
| Varnish Application Technique | Wood Glue Technique |
|---|---|
| Ensure surface is clean and dust-free for adhesion | Select the right type of wood glue for strength and flexibility |
| Apply thin, even coats with a quality paint brush | Clamp pieces together firmly while glue dries |
| Allow adequate drying time between coats | Clean excess glue immediately to avoid damage |
Tips For Using Sanding Blocks
Effective use of sanding blocks is essential for achieving beautiful finishes in woodworking. Selecting the appropriate grit for your project helps to avoid damaging the wood while ensuring an optimal surface.
Start with coarse grits for removal, and progressively transition to fine grits for a polished look.
Using even pressure is vital; this technique maintains a consistent surface without dips or imperfections.
For flat surfaces, sanding blocks are recommended, while your hand is more effective for curves. This versatility creates smooth transitions across different shapes, making your project stand out.
Key Points:
- Choose the appropriate grit to avoid damaging the wood.
- Employ even pressure while sanding for a uniform surface.
Choosing the Right Grit
When selecting grit for your sanding blocks, consider the type of wood and the desired finish. Coarse grits are suitable for heavy stock removal, while fine grits are best for achieving a smooth surface. Wood stains, varnish, and other finishes will look better on surfaces that have been properly sanded.
Techniques for Sanding
Using even pressure while sanding with sanding blocks prevents uneven surfaces. Be mindful of the movements you make; consistent strokes yield the best results. Whether you’re working on flat areas or curves, adjust your approach accordingly to enhance the overall finish.
Best Paint Brushes For Restoration
Choosing the right paintbrush is essential for achieving a flawless finish when restoring furniture. Natural bristle brushes excel with oil-based paints, ensuring a smooth application and enhancing the overall aesthetic. Conversely, synthetic brushes perform admirably with water-based paints, maintaining their shape and ensuring even paint distribution. The size of your brush plays a significant role in detailed work; larger brushes cover more area quickly, while smaller brushes are ideal for precision in tight spots.
Key Points:
- Opt for natural bristle brushes for oil-based paints, and synthetic for water-based.
- Choose the right size brush for detailed work to ensure a clean finish.
Cleaning and Maintenance
Cleaning brushes properly after use extends their lifespan, especially when using mineral spirits for oil-based finishes. Regular maintenance ensures that your paintbrushes remain in optimal condition for future projects.
Choosing the Right Brush Size
The size of your paintbrush dramatically impacts your restoration work. Larger brushes work efficiently for broad strokes, while smaller brushes can navigate intricate details with ease. Opt for finishing brushes that are suited for your project needs.
Sanding and Painting
- Using the correct sanding grit can reduce the risk of damaging wood by up to 50%.
- Natural bristle brushes can improve the finish of oil-based paints by providing better paint flow.
- Proper brush cleaning can extend the lifespan of your brushes by 100% or more.
- Even pressure during sanding can decrease the time spent on finishing by ensuring fewer imperfections.
Wood Fillers and Their Uses
Repairing damaged surfaces effectively requires knowledge of wood fillers. To achieve a seamless repair, match the filler to the wood type meticulously.
Color and texture play significant roles, ensuring a uniform appearance after application.
This attention to detail helps maintain the wood’s integrity.
Different fillers, such as water-based and solvent-based options, have varying drying times that must be understood for optimal results. Knowing sanding requirements enhances the final look, creating a smooth finish that perfectly blends with the original surface.
Choosing the Right Wood Filler
Selecting the right wood filler is essential for effective repairs.
Consider the following factors:.
- Wood type: Different wood fillers work better with specific types of wood.
- Color matching: Aim for harmony between the filler and the natural wood, utilizing wood stains if necessary.
- Application method: Choose a filler that suits your method, be it with paint brushes or sanding blocks.
Application Techniques
Application techniques can significantly impact the final result. Utilize the following to ensure successful application:.
- Prepping the surface: Clean and sand the area before applying wood fillers.
- Layering: Apply multiple thin layers for a better finish.
- Sanding: Allow each layer to dry completely before sanding for the best results.
Applying Polyurethane For A Smooth Finish
Achieving a flawless finish on your project requires careful consideration of the right materials. Choosing between oil-based and water-based polyurethane based on your project needs is essential, as each offers distinct advantages. A high-quality brush ensures that you minimize bubbles and streaks during application, resulting in a more polished appearance.
Polyurethane Application Techniques
Implementing effective application techniques is key to achieving a glass-like finish:.
- Choose the right finish: Select a polyurethane that aligns with your project’s requirements.
- Use a suitable applicator: A foam applicator or high-quality paint brush can make a significant difference.
- Sand between coats: Lightly sand between each coat once dry to enhance smoothness.
Final Touches for a Perfect Finish
The final touches can elevate your work to a professional level. After applying the last coat of polyurethane, ensure it dries thoroughly before any further handling. For an extra layer of protection, consider adding a sanding sealer or wax applicator to enhance durability.
By utilizing the right products and techniques, like distressing techniques or aged weathered finishes, you can achieve stunning results that are both authentic and timeless.
Wood Fillers and Polyurethane Application
- Wood fillers can be made from various materials, including latex, epoxy, and solvent-based compounds, each suited for different applications.
- Water-based polyurethane dries faster than oil-based options, making it ideal for projects requiring quick turnaround.
- Proper sanding between coats can significantly improve the final appearance by eliminating imperfections and enhancing adhesion.
- Using a sanding sealer before applying polyurethane can help prevent the wood from absorbing too much finish, leading to a smoother final coat.
The Benefits Of Using Wood Conditioner
Using a wood conditioner enhances your woodworking projects by ensuring a smooth and even finish. This product serves as a preventive measure against blotching, particularly in softwoods such as pine and fir.
By preparing the surface, wood conditioners promote even absorption of wood stains, leading to a polished appearance.
Improved Color Distribution
Applying wood conditioner before staining is essential for achieving better color distribution.
When working with various finishing oils, it helps the wood grain absorb the stain uniformly, making the final look much more appealing.
This step is especially beneficial when using natural stains or gel stains for rich, vibrant color.
Preventing Blotching
Blotching can spoil the aesthetic of any project. By utilizing a wood conditioner, you minimize this risk significantly.
The conditioner provides a barrier that allows the stain to adhere evenly across the wood surface. For projects that involve refinishing techniques or antique restoration kits, this step proves vital.
Consideration for Your Project
Determining whether a wood conditioner is necessary hinges on the type of project and the wood being used.
For example, softwoods typically benefit more from conditioning than hardwoods.
Always assess the wood treatment and the final look you desire.
“The secret to beautiful wood finishes lies in the preparation. ”
Incorporating wood conditioning into your workflow can significantly elevate your woodworking skills.
Whether you are applying polyurethane or shellac, this step is foundational for achieving professional-grade results.
Wood Conditioner
- Wood conditioner helps achieve a smooth and even finish, preventing blotching in softwoods.
- It promotes uniform absorption of stains, enhancing color distribution for a more appealing final look.
- Using wood conditioner minimizes the risk of blotching, ensuring an even stain application across the wood surface.
- Conditioning is particularly beneficial for softwoods, making it an essential step in many woodworking projects.