
Transforming your oak furniture is not just a project; it’s a journey that brings back the essence of cherished pieces. Furniture restoration offers a fulfilling way to personalize and enhance the character of your beloved items.
With the right tools and wood repair techniques, even beginners can achieve stunning results that blend functionality with art.
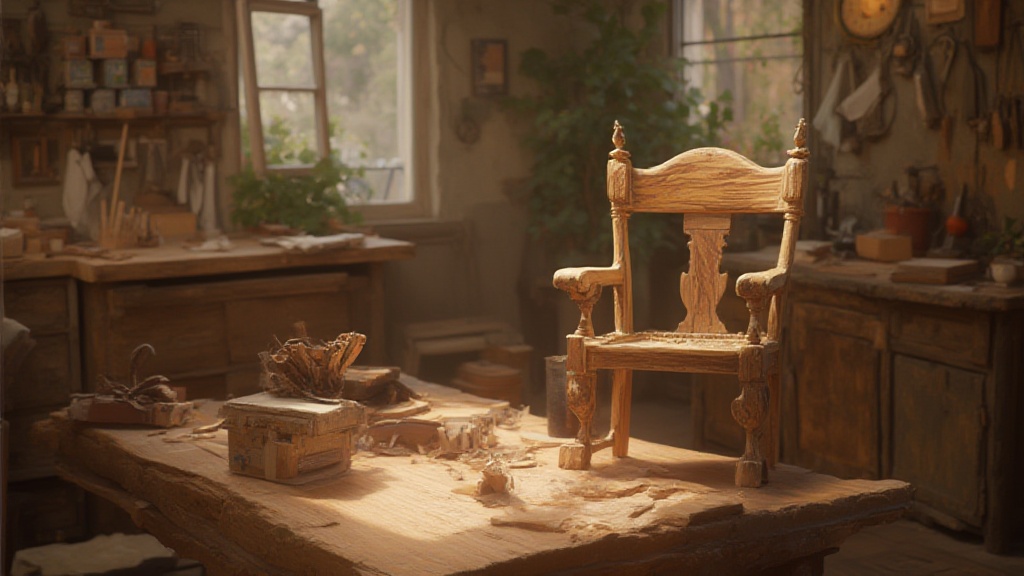
Click here to learn more about: oak furniture
Exploring Furniture Restoration Techniques
Before embarking on any repair project, evaluating the damage to your oak furniture is essential.
A careful assessment not only saves time but also helps identify specific issues like scratches or watermarks, allowing for a more streamlined process.
Start by gathering these critical tools to guarantee success:.
- Sandpaper: Essential for surface preparation.
- Wood glue: Necessary for effective repairs.
- Stain and sealant: Key for color matching and enhancing aesthetics.
- Brushes and rags: Useful for lacquer application and cleaning.
Utilizing high-quality materials greatly enhances durability. With proper staining and varnishing techniques, restorations can become not just effective but long-lasting.
The Charm of Aged Weathered Finishes
Aged weathered finishes bring a sense of history and character to furniture. These techniques involve distressing and layering to create a rustic look that resonates with vintage aesthetics. Common methods include:
- Distressing techniques: Creating an authentic, worn appearance.
- Color washing: Adding depth and texture.
- Layering finishes: Mimicking natural aging for a unique aesthetic.
For those engaged in DIY furniture restoration, these methods offer limitless possibilities to achieve that perfect balance between rustic charm and modern design.
Essential Tips for Successful Restoration
Experimentation is key. Practice various techniques on sample pieces to refine your skills.
Whether you prefer eco-friendly finishes or traditional methods, the tools needed include brushes, spray guns, and sandpaper. Always remember to prioritize safety when using chemical strippers and other materials.
By mastering these restoration techniques, you not only breathe new life into your oak furniture but also embrace the art of maintaining its timeless beauty.
Essential Wood Repair Techniques For Oak
Successfully repairing oak requires an understanding of its inherent qualities. Known for its durability and striking beauty, oak demands specific repair techniques that enhance its appeal.
Initially, matching wood grain patterns proves vital for ensuring that repairs harmonize with the original design.
To achieve this, explore local suppliers for wood varieties that closely align with your oak’s characteristics.
Utilizing high-quality wood fillers designed for effective sanding and staining enhances the overall finish. The application of epoxy resins is highly recommended for structural repairs, delivering lasting strength while maintaining the integrity of the piece.
How To Prepare Surfaces For Refinishing
Preparing surfaces accurately establishes a solid foundation for a flawless finish.
Thorough cleaning, along with priming, is essential for successful oak refinishing projects. Begin by considering earlier sanding methods to ensure optimal results; this includes removing all dust and debris using a vacuum and tack cloth.
When cleaning, opt for a gentle detergent that effectively eliminates grease without harming the wood.
Priming the surface is paramount to promote even adhesion of the finish.
Select a primer specifically tailored for the wood type, ensuring compatibility with your topcoat to improve the overall results of your refinishing project.
Oak Repair and Refinishing
- Oak is one of the most durable hardwoods, making it a popular choice for furniture and flooring.
- Using wood fillers that match the grain can significantly improve the aesthetic of repairs, making them less noticeable.
- Epoxy resins provide superior bonding strength, making them ideal for structural repairs in oak furniture.
- Proper surface preparation, including cleaning and priming, is crucial for achieving a smooth and even finish during refinishing.
Effective Sanding Methods For Oak Furniture
Achieving an impeccable finish on oak furniture significantly enhances any furniture restoration project. Different sanding tools offer unique advantages and drawbacks.
Electric sanders provide efficiency for larger surfaces, delivering speed and power, but they pose risks of damaging wood if not used carefully.
In contrast, hand sanders offer greater precision for sanding in tighter areas, although these require more effort and time.
To secure a smooth finish, begin with coarse grit (80-120) to eliminate imperfections, then transition to finer grit (220-320) while sanding along the wood grain’s direction. Cleaning between grits prevents scratches and ensures a flawless surface.
Incorporating wood repair techniques such as grain filling enhances the overall quality of finish.
- Use electric sanders for large, flat surfaces.
- Hand sanders are best for detailed areas.
- Start with coarse grits to eliminate any major flaws.
- Progress to finer grits to smooth the surface.
Choosing The Right Stain For Color Matching
Selecting the appropriate stains for oak furniture plays a pivotal role in achieving desired aesthetics. Testing stains on scrap wood samples is essential, as oak’s inherent color impacts the final look. Layering techniques help in achieving depth, allowing a base stain to be applied before buffing and layering additional coats.
Understanding Color Theory
Effective color matching involves awareness of color theory principles introduced in earlier discussions about color matching. Observe how colors change under different lighting conditions to ensure choices align with your vision.
“A well-matched stain brings out the natural beauty of wood. ”
Techniques for Depth
Layering applications can also include various staining methods, which contribute to achieving a nuanced finish. Remember to consider eco-friendly finishes for a sustainable approach to projects while ensuring a rich and captivating result. These strategies enhance the overall aesthetics of your furniture restoration project.
Sanding and Staining Oak Furniture
- Electric sanders can reduce sanding time by up to 50% compared to hand sanding.
- Using the correct grit progression minimizes the risk of surface damage and ensures a smoother finish.
- Testing stains on scrap pieces can prevent costly mistakes and ensure color accuracy before application.
- Eco-friendly finishes are increasingly popular, with a growing market demand for sustainable wood treatment options.
The Importance Of Lacquer Application In Finishing
Lacquer application enhances the aesthetic appeal and durability of wood surfaces, making it a fundamental step in furniture restoration. Utilizing different lacquer types, such as acid-cured lacquer and water-based options, offers distinct advantages.
For example, acid-cured lacquer dries rapidly and exhibits excellent water resistance, making it ideal for high-traffic areas, while water-based lacquer is an eco-friendly solution that produces minimal odor.
Proper surface preparation is crucial for achieving optimal results, involving thorough sanding and cleaning of the wood.
Best Practices for Lacquer Application
Application techniques should consist of long, even strokes to prevent streaks.
It is important to allow sufficient drying time between coats, which leads to a durable and attractive finish.
Utilizing proper brush techniques enhances the overall quality of the lacquer application, ensuring a flawless look.
Tips For Chipped Edge Repair On Oak
A successful chipped edge repair on oak hinges on meticulous attention to detail and careful matching to the existing edges. Assessing the damage initially provides insight into the required wood repair techniques.
Selecting a wood filler or veneer that closely resembles the original oak ensures a seamless and authentic appearance.
Step-by-Step Guide for Chipped Edge Repair
Begin by applying the repair material to the chipped edge, using a putty knife to smooth it out. Once the filler has dried, sanding the area is essential to create an even surface with the surrounding wood.
Applying lacquer not only protects the repaired section but also enhances the overall integrity of the oak refinishing project.
| Lacquer Type | Advantages |
|---|---|
| Acid-Cured Lacquer | Dries rapidly, excellent water resistance |
| Water-Based Lacquer | Eco-friendly, minimal odor |
| Repair Technique | Importance |
|---|---|
| Wood Filler Selection | Ensures seamless and authentic appearance |
| Sanding | Creates an even surface for a flawless finish |
Best Practices For Furniture Maintenance And Care
Regular upkeep is essential for maintaining the elegance and functionality of your furniture. Effective furniture restoration requires consistent attention, allowing your pieces to shine for years to come.
Begin with weekly dusting routines to prevent buildup that can lead to scratches and unwanted wear.
Incorporate protective measures, such as coasters and furniture polish, to guard against moisture and stains.
This proactive maintenance complements various wood repair techniques and ensures seamless restoration when the need arises.
Enhanced Protection Techniques
Utilizing natural oils for wood conditioning not only nurtures the surface but also enhances the grain, offering a vibrant appearance over time. Apply restoration wax periodically to maintain a protective barrier against everyday wear.
Invest in eco-friendly finishes to promote sustainability while preserving the integrity of your furniture. Explore DIY furniture restoration projects to gain practical experience and develop your woodworking skills.
Tip: Regular wood treatment can significantly extend the life of your furniture and amplify its beauty.
Restoration and Repair Techniques
For more extensive issues, familiarize yourself with wood repair techniques such as cracked wood fixes and chipped edge repair.
Understanding grain filling and color matching enables you to achieve a flawless finish during restoration.
Techniques like staining and varnishing will not only protect but also enhance the appearance of your furniture. Applying a clear coat can provide added durability.
Consider incorporating distressing techniques to emulate aged weathered finishes, offering a sense of rustic charm reminiscent of vintage aesthetics.
Whether you’re working on antique furniture or handmade pieces, the right approach will yield a beautifully preserved masterpiece.
Remember: Learning various joinery techniques will enhance your restoration projects, adding both beauty and strength.
By prioritizing consistent maintenance alongside effective restoration techniques, your furniture will continue to be a source of pride and enjoyment for generations.
Embrace these best practices to ensure your furniture not only retains its character but also flourishes through the years.
Furniture Maintenance
- Regular dusting can prevent scratches and prolong the furniture’s lifespan.
- Natural oils and restoration wax can enhance wood grain and provide a protective barrier.
- Understanding wood repair techniques can significantly improve the quality of restoration projects.
- Incorporating eco-friendly finishes supports sustainability while maintaining furniture integrity.
Techniques For Furniture Refinishing That Transform Your Space